Tripod Lashing
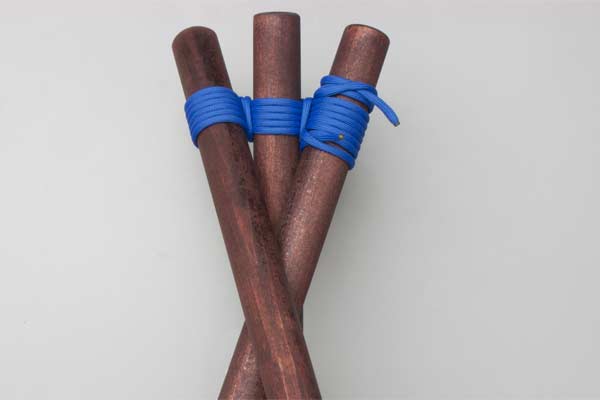
ProcedureStart with a Clove Hitch around one pole. Wrap about six racking turns around the three poles weaving in and out between them. Make two or three tight frapping turns in the two gaps. Finish with a Clove Hitch. Cross the two outside poles to form the tripod.
Use: Ashley shows a Tripod Lashing (ABOK # 2111, p 342) but he shows the two side legs spreading apart from each other instead of crossing. The method shown in the animation is preferred because the legs bind against each other for greater stability.
Racking Turns: The lashing passes to and fro between the poles. This increases the contact between rope and wood and reduces slipping. Such turns are known as Racking turns.
Frapping Turns: The turns surrounding the lashing at right angles exert a tightening effect on the lashing. These turns are known as Frapping Turns.
Options: Some descriptions start with the center pole extending in the opposite direction from the two side legs. Forming the tripod then twists and tightens the lashing, and can even break it if tied too tightly. A lashing which is too tight or extends for too great a length may either prevent the tripod from being formed or may overload the rope. In this respect the Tripod Lashing differs from other lashings: it is possible to make it too tight! On occasion, trial and error may be required to obtain the correct tension.
Scouting: Four tripods can be used to support a pair of horizontal poles under a table.
Source: AnimatedKnots.com
 RSS Feed